How to Clean Your Bike After Riding in Sand
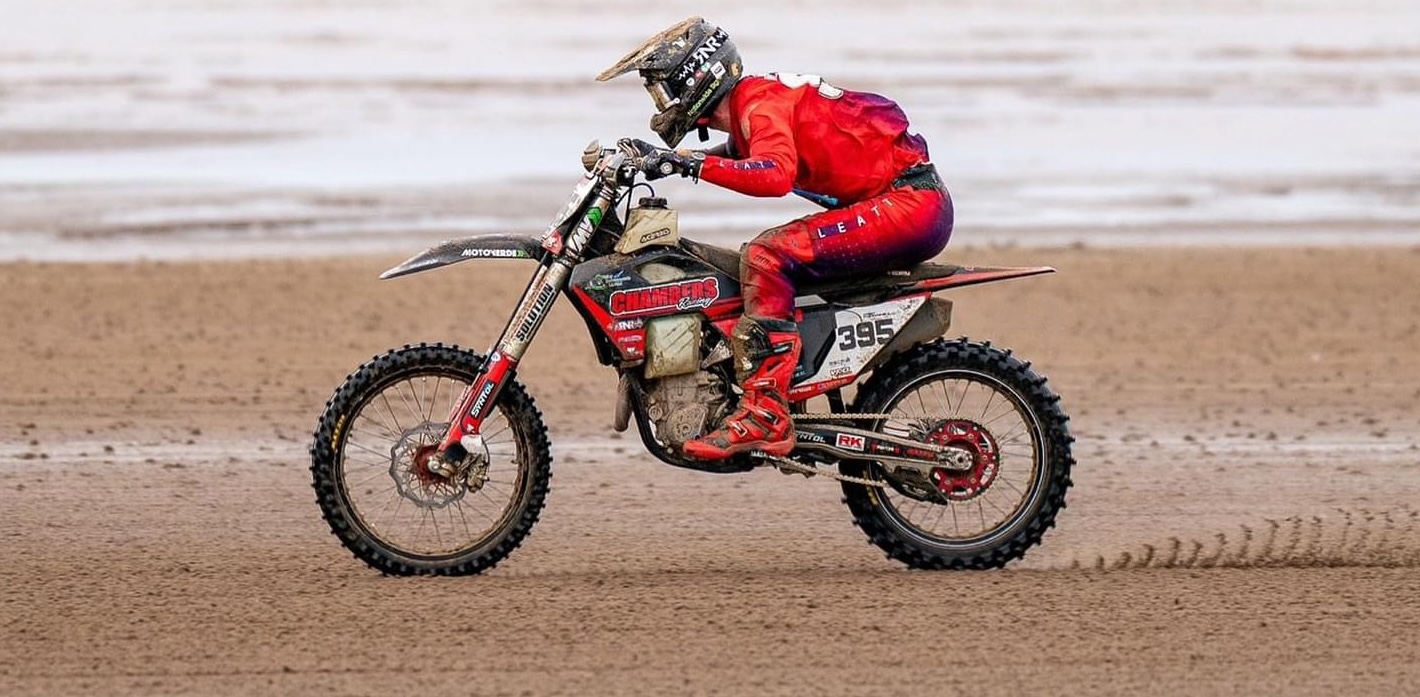
Riding in sand is fun but tough on your bike. Sand works its way into everything—drivetrain, pivots, bearings, and more. If you don’t clean it out properly, it can lead to wear and damage. This guide shows you how to deep clean your bike using Bike Wash, Drivetrain Cleaner, and After Shine, focusing on key areas like swingarm linkages and headstock bearings.
Step 1: Pre-Rinse to Loosen Sand and Dirt
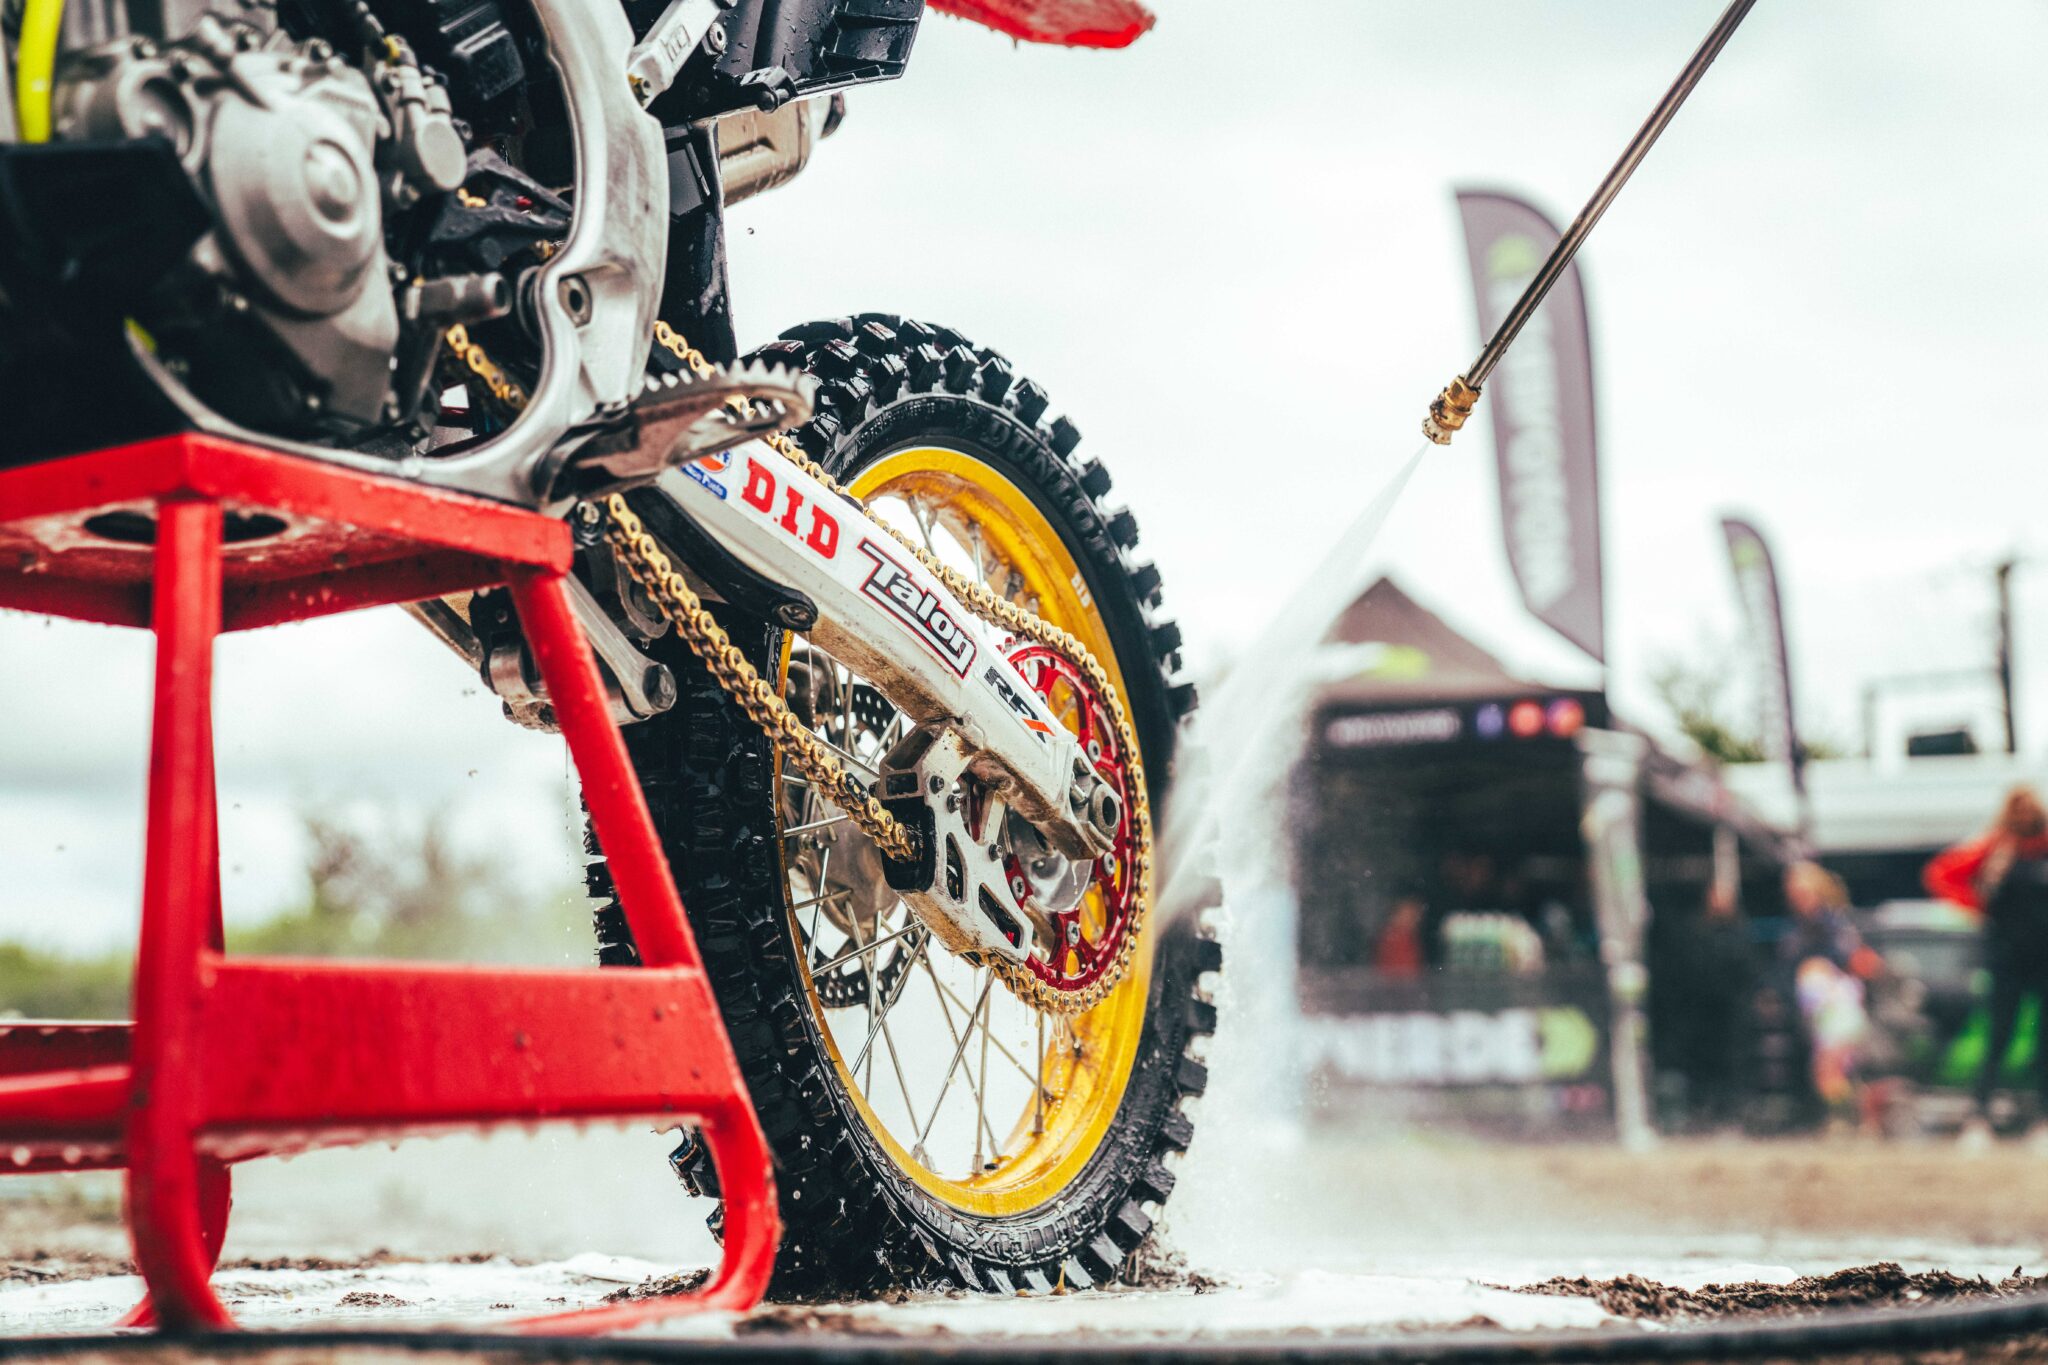
Before using any cleaning products, give your bike a good rinse. This helps wash away loose sand and dirt, stopping it from scratching the bike when you start scrubbing.
Step 2: Initial Wash
Apply Motoverde Bike Wash to the entire bike. The high-foaming formula lifts dirt and sand with ease.
•How to Use: Spray Bike Wash over the whole bike, especially where sand builds up, like the frame, engine, and suspension. Let it sit for 5-15 minutes, but don’t let it dry out.
•Pro Tip: Use a soft brush to scrub areas like the frame and wheels where dirt collects.
Step 3: Rinse Off the Bike Wash
After the Bike Wash has broken down the dirt, give the bike another rinse. This removes all the grime and prepares the bike for deeper cleaning.
•Why It Matters: Rinsing with the wheels still on helps clear loose dirt and sand before you access harder-to-reach areas.
Step 4: Remove Wheels and Suspension for Deep Cleaning
Now, take off the wheels and suspension to clean important parts like the swingarm linkages and headstock bearings.
•Why It Matters: Sand can get stuck in these areas, causing wear. Removing these parts lets you clean them properly.
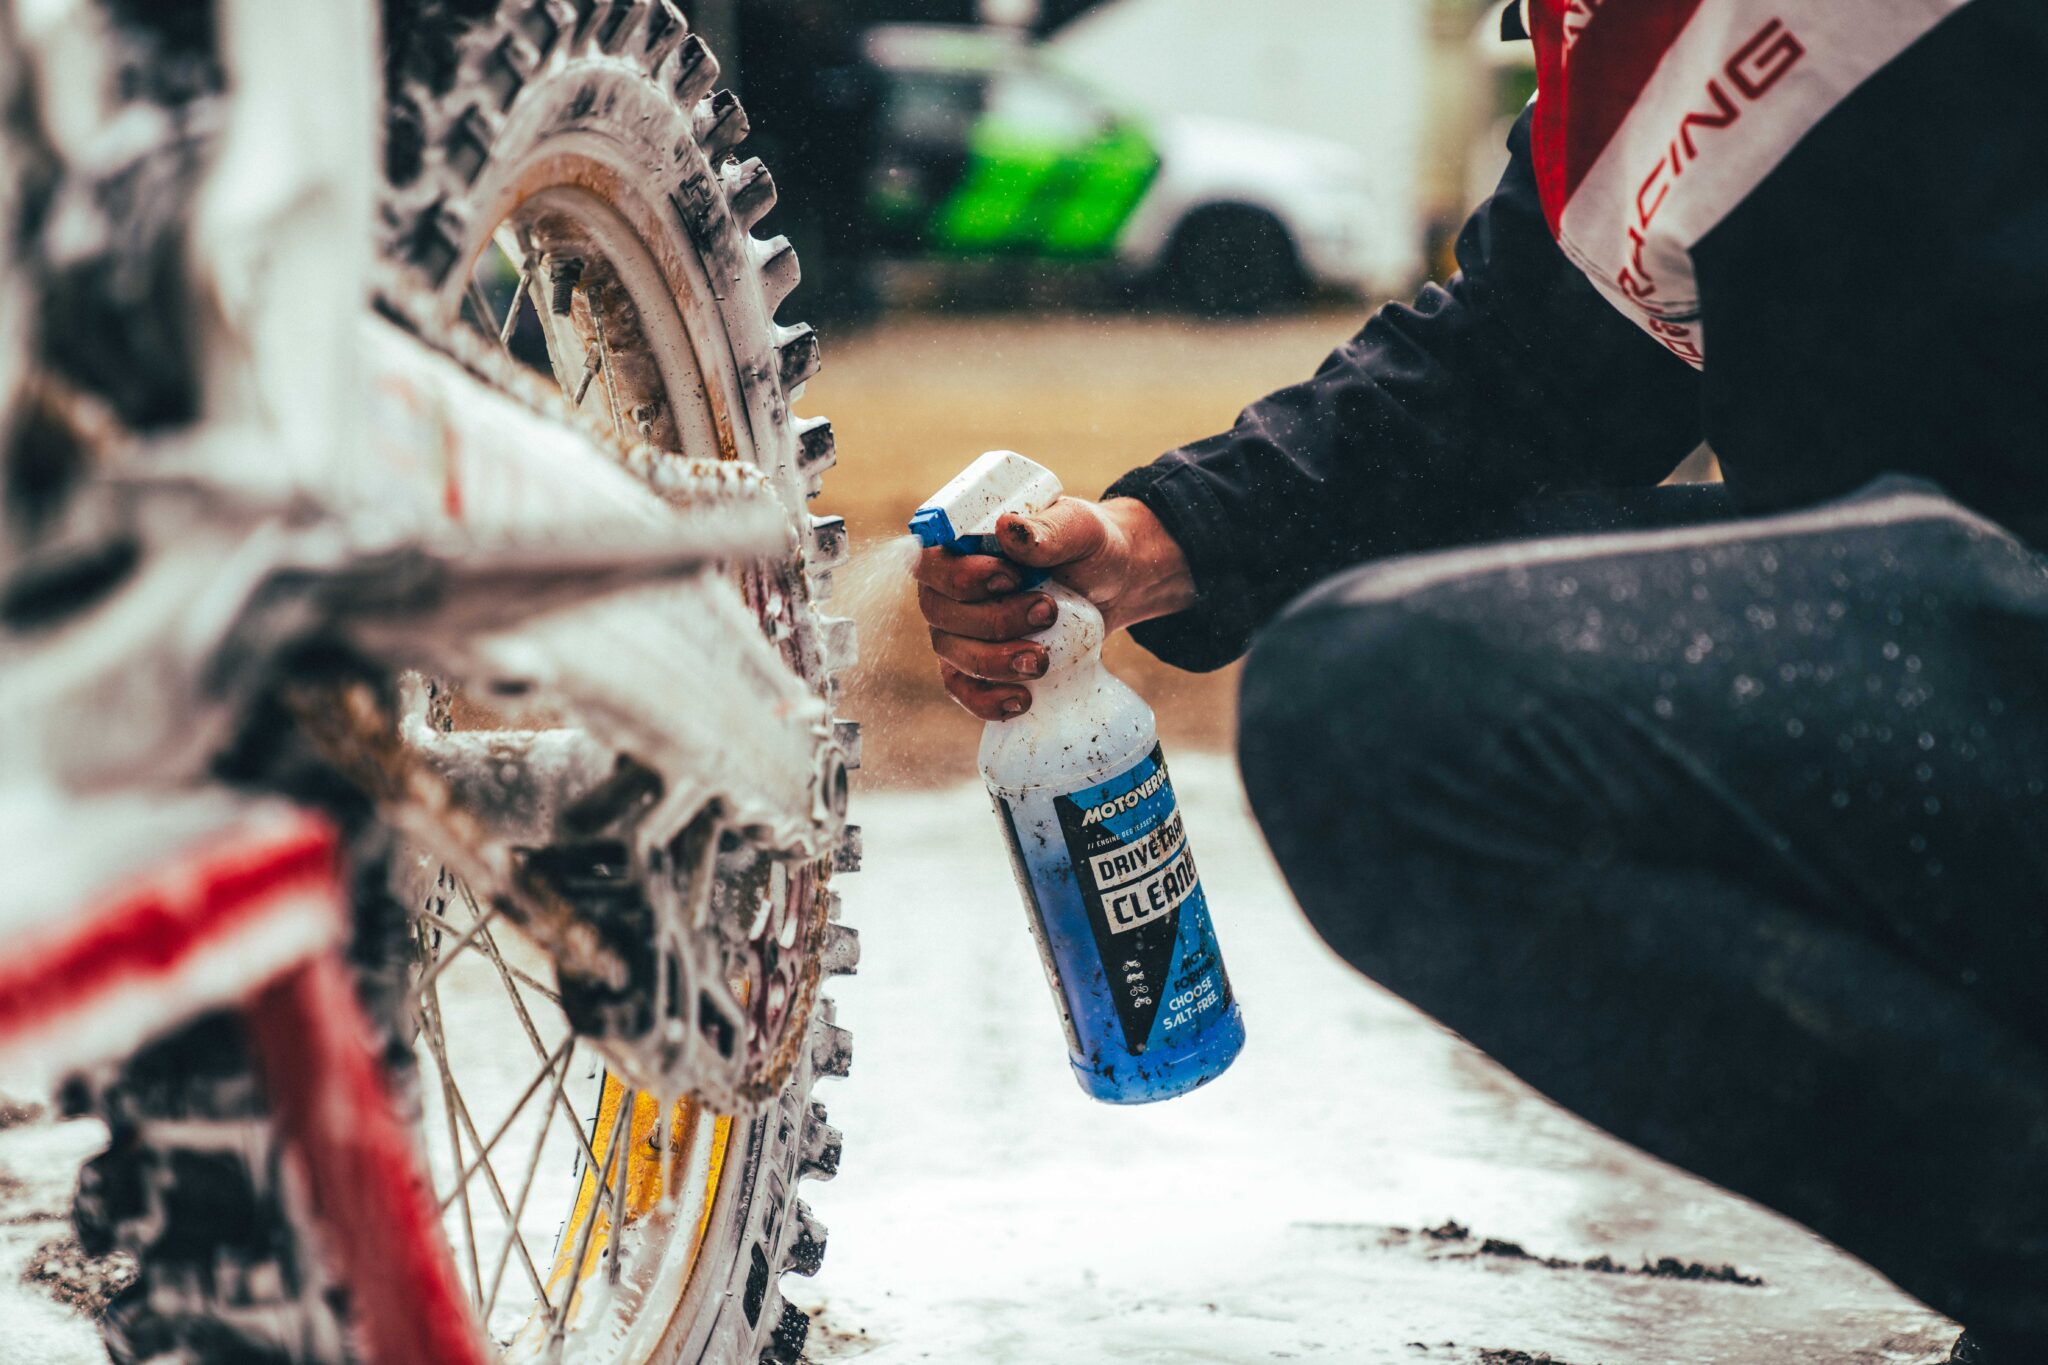
Step 5: Clean Moving Parts with Drivetrain Cleaner
With everything exposed, it’s time to degrease and clean the swingarm pivots, headstock bearings, and linkages using Motoverde Drivetrain Cleaner.
•How to Use: Spray Drivetrain Cleaner on all the pivots and bearings. Let it sit for a few minutes to break down grease and sand. Use a brush to scrub gently.
•Pro Tip: Be thorough—sand can be abrasive and cause serious wear if left unchecked.
Step 6: Re-Grease and Lubricate Moving Parts
After cleaning, dry everything thoroughly and re-grease or lubricate moving parts. This keeps them running smoothly and protects against further wear.
•Focus on: Swingarm pivots, headstock bearings, and any other parts you cleaned.
Step 7: Reassemble the Bike
Once everything is clean and lubricated, put the wheels, suspension, and other parts back on.
Step 8: Apply Motoverde After Shine for Protection
With the bike back together, apply After Shine to give it a protective finish. After Shine adds a glossy look and helps repel water and dirt, so your bike stays cleaner for longer.
•How to Use: Spray a light mist of After Shine onto the bike’s surfaces. Avoid spraying the seat, grips, or tires. Let it air dry or buff it with a microfiber cloth for a glossy finish.
•Pro Tip: Use After Shine under the mudguards before a ride to stop sand from sticking.
Why Proper Cleaning After Riding in Sand is Essential
Riding in sand can be fun, but it’s hard on your bike. Sand can get into every small crevice, causing wear and damage. By following this cleaning routine with Bike Wash, Drivetrain Cleaner, and After Shine, you’ll keep your bike in top condition and ready for the next ride.
Looking for all 3 products? You can view our Bike Care Trio here.